

ICVFX At Home 3 - Camera Tuning and Switchboard
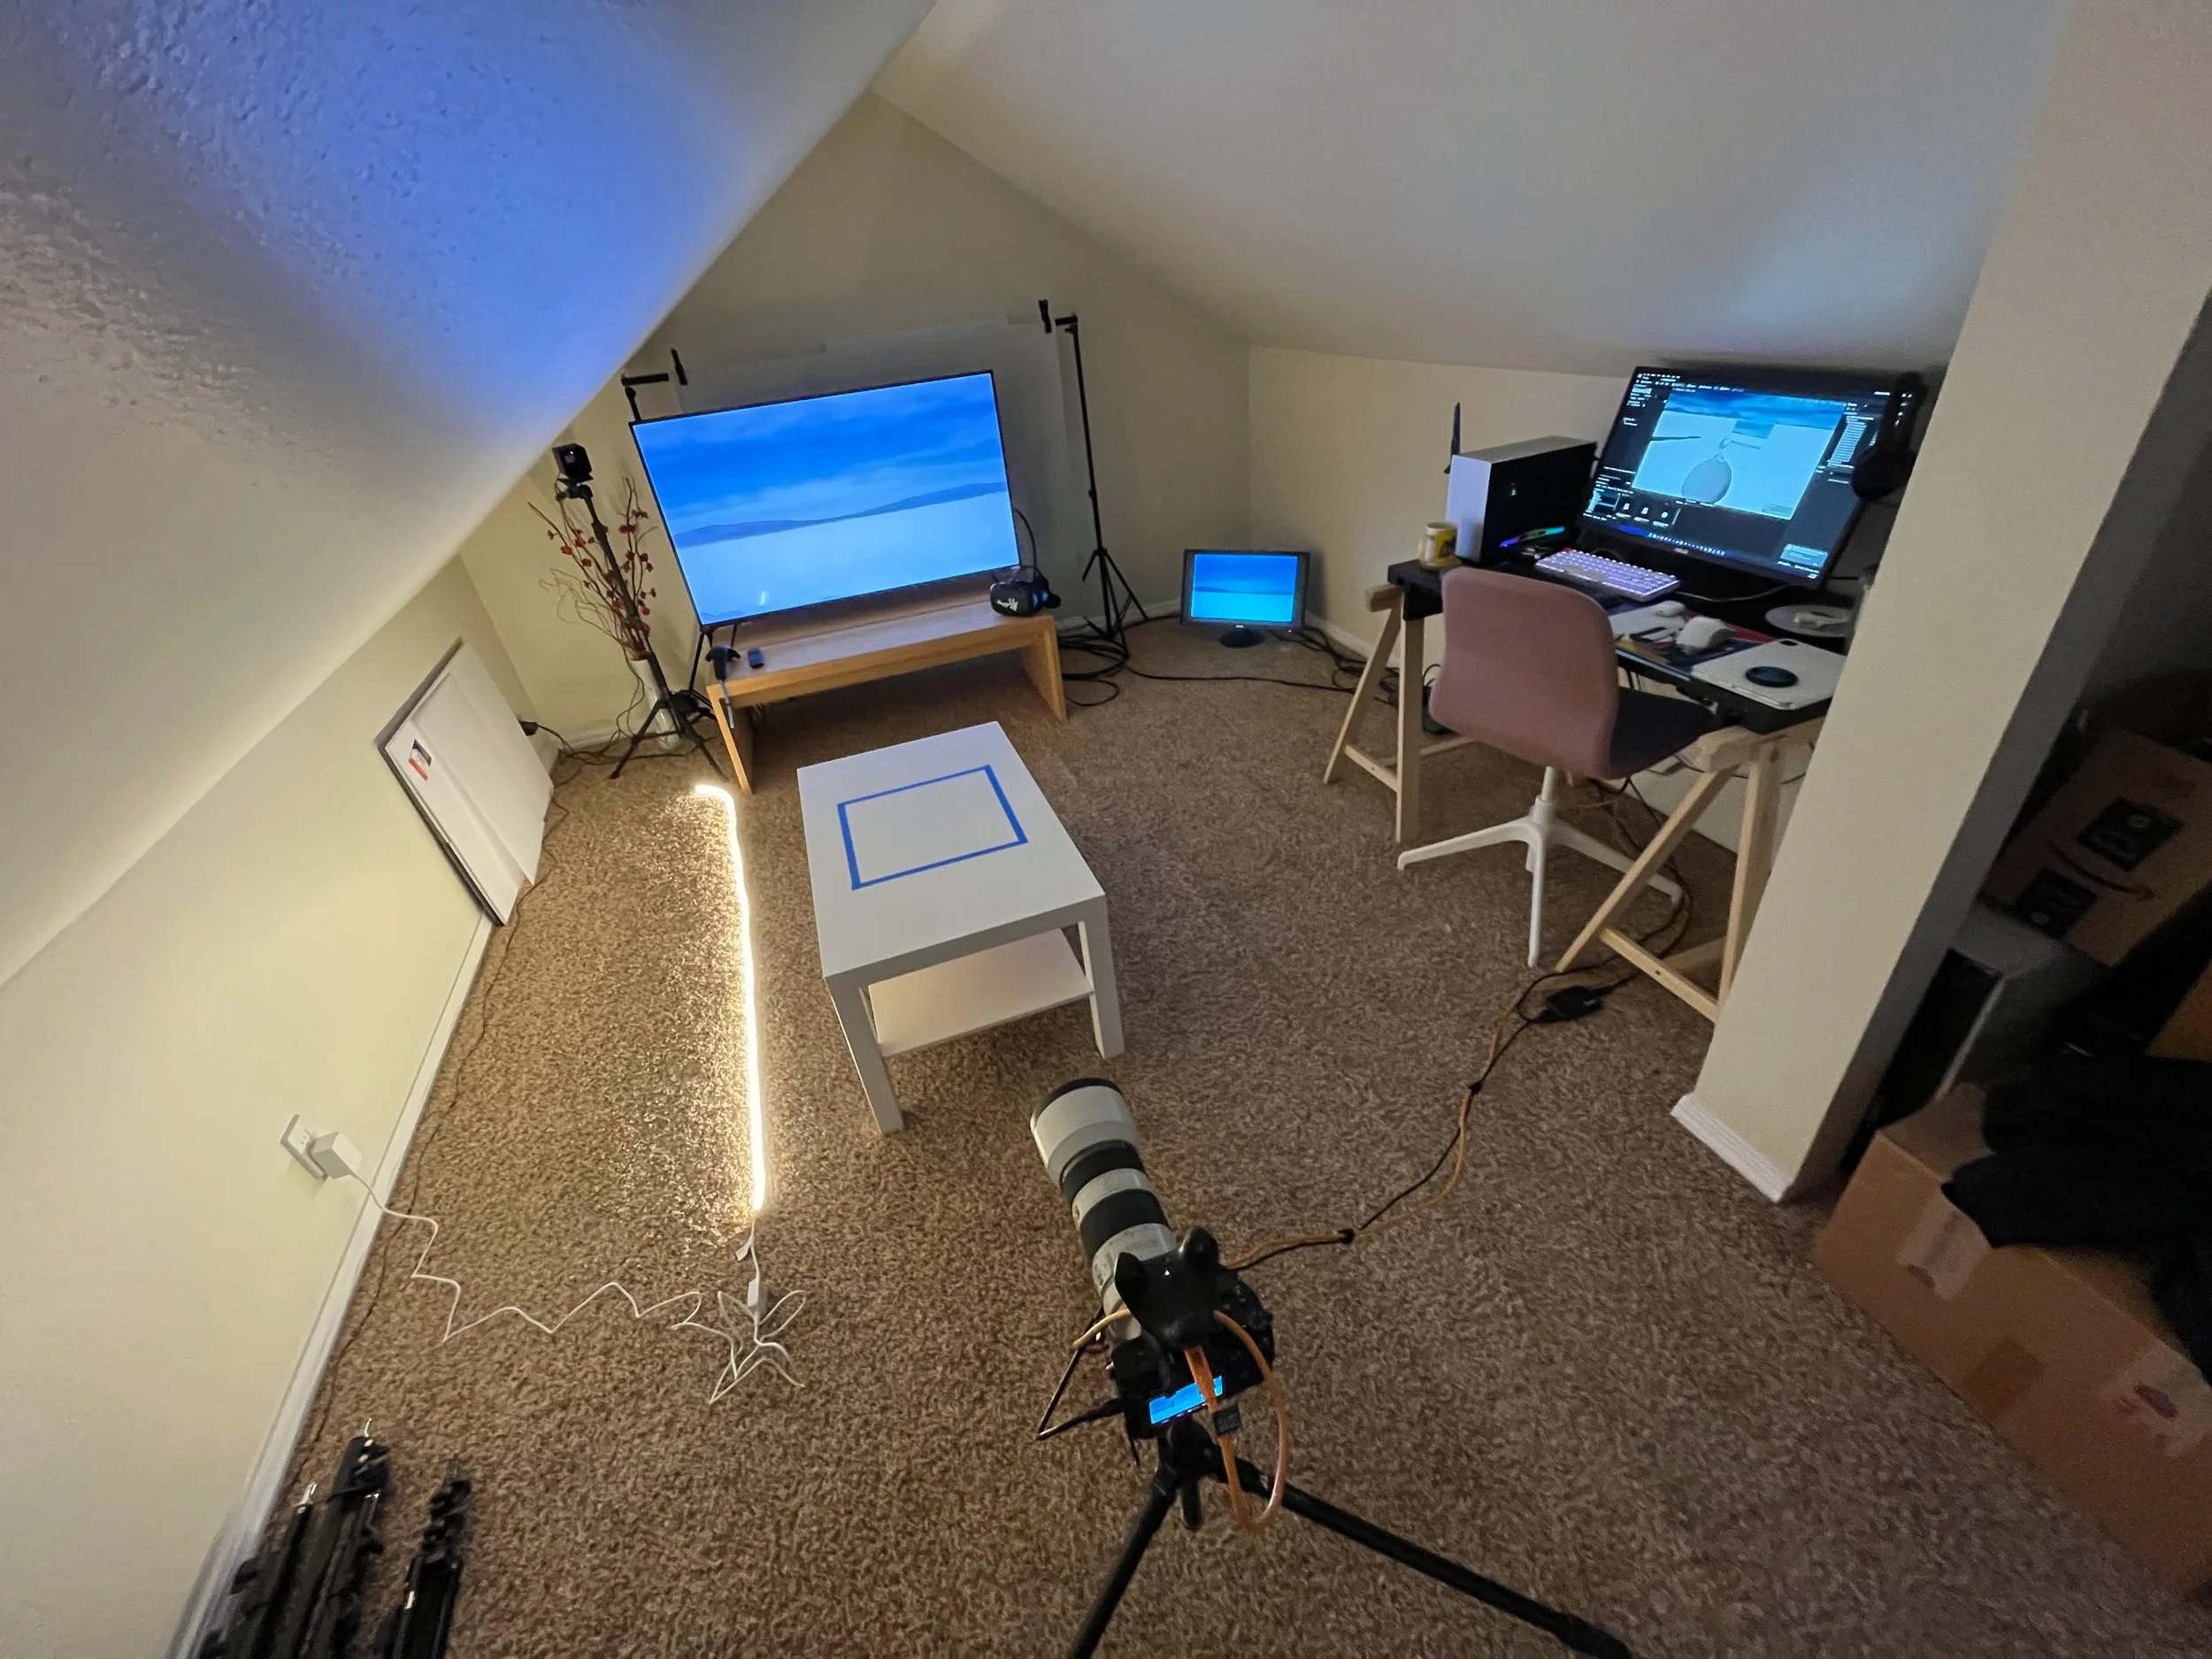
Displays Left to Right: Video wall (TV), live camera view monitor, UE operator
I made some updates to the mockup space this week. Most importantly adding a desk, moving lighthouses to better angles, and reorganizing the cable chaos. Additionally, I added the bright Automotive Salt Flats sample project to make up for the current dreary Seattle weather. This stage got me to a place where I could play with camera tracking on-screen, and begin thinking about location scouting. Here is the current room layout:
Camera Calibration Changes
Firstly, I made some adjustments to the CineCamera in-scene. The virtual camera and lens need to be as close too the physical camera as possible if we want field of view (FOV) and perspective of the set and scene to match.
Changed CineCamera sensor to “Full Frame DSLR”
Changed Lens settings to match my physical lens settings: 135mm and F8


I also added an offset to the camera tracking. The puck is mounted to the camera’s hot shoe and the sensor itself is actually pivoting around the tracking point rather than centered on it
In the LiveLink preset, I measured my camera setup and then offset -11 cm in Z and 1 cm in Y from the center of the tracker. This correctly sets my sensor below and in front of the tracking point.
I also had to invert some of the axes in LiveLink to correct left vs right handed coordinates from SteamVR to UE5.
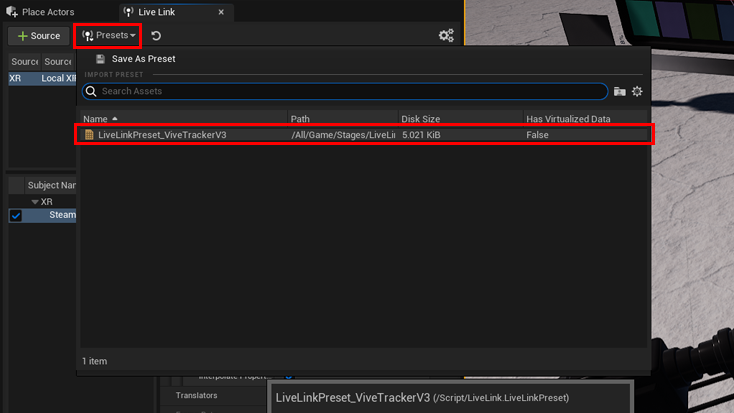
I saved these settings as a LiveLink Preset for this specific tracking setup, and can toggle between this and other setups based on where I’m running the project.
Setup Switchboard for a Single PC System
Since I wanted this setup to mirror a proper studio project, I still want to trigger the scene through Switchboard and use the node in my nDisplay configuration. To do this I simply needed to use my own PC’s IP in the nDisplay and Switchboard configs for this room. The level launches smoothly and doesn’t seem to mind that the editing and rendering devices are the same. Additionally, these shenanigans remain in the configs for this room alone and would be ignored if loading the configs for a different location.
For this mockup, I am only setting up a single PC system. For a full scale setup using multiple operator and render nodes, I followed Unreal’s documentation to ensure each device is identified on the network correctly.
Enable Switchboard Plugin for the project and restart. After reopening the project, look for the Switchboard icon at the top of the UI and make sure “Launch Switchboard Listener on Login” is enabled.
I then created a new Switchboard Config for the home setup named “UE5_ViveTracking”. Switchboard still wants an Editor/Operator and a Render Node designated, but for this single-PC setup, I entered my own IP for both devices. When adding the nDisplay device, the drop-down will automatically populate with the nDisplay Config I created in the previous step.
Going back to the Clusters panel in our project’s nDisplay config, I also designated my PC’s local IP address under in the Node. When going back to Switchboard this IP address should be visible there.

Now, all that’s left in UE5 is to compile and save changes. In Windows Settings, make sure the TV is the main display, and your desktop monitor is secondary, since Switchboard will automatically begin rendering your scene on the primary display. Then go back to Switchboard and hit “Connect All Devices” and then “Start All Connected Devices”. A new instance of UE5 will open (you can also just use Switchboard to launch your project) and the scene will open on the primary display.
The next task will be to setup subject and lighting in the studio!